Update 11/28:
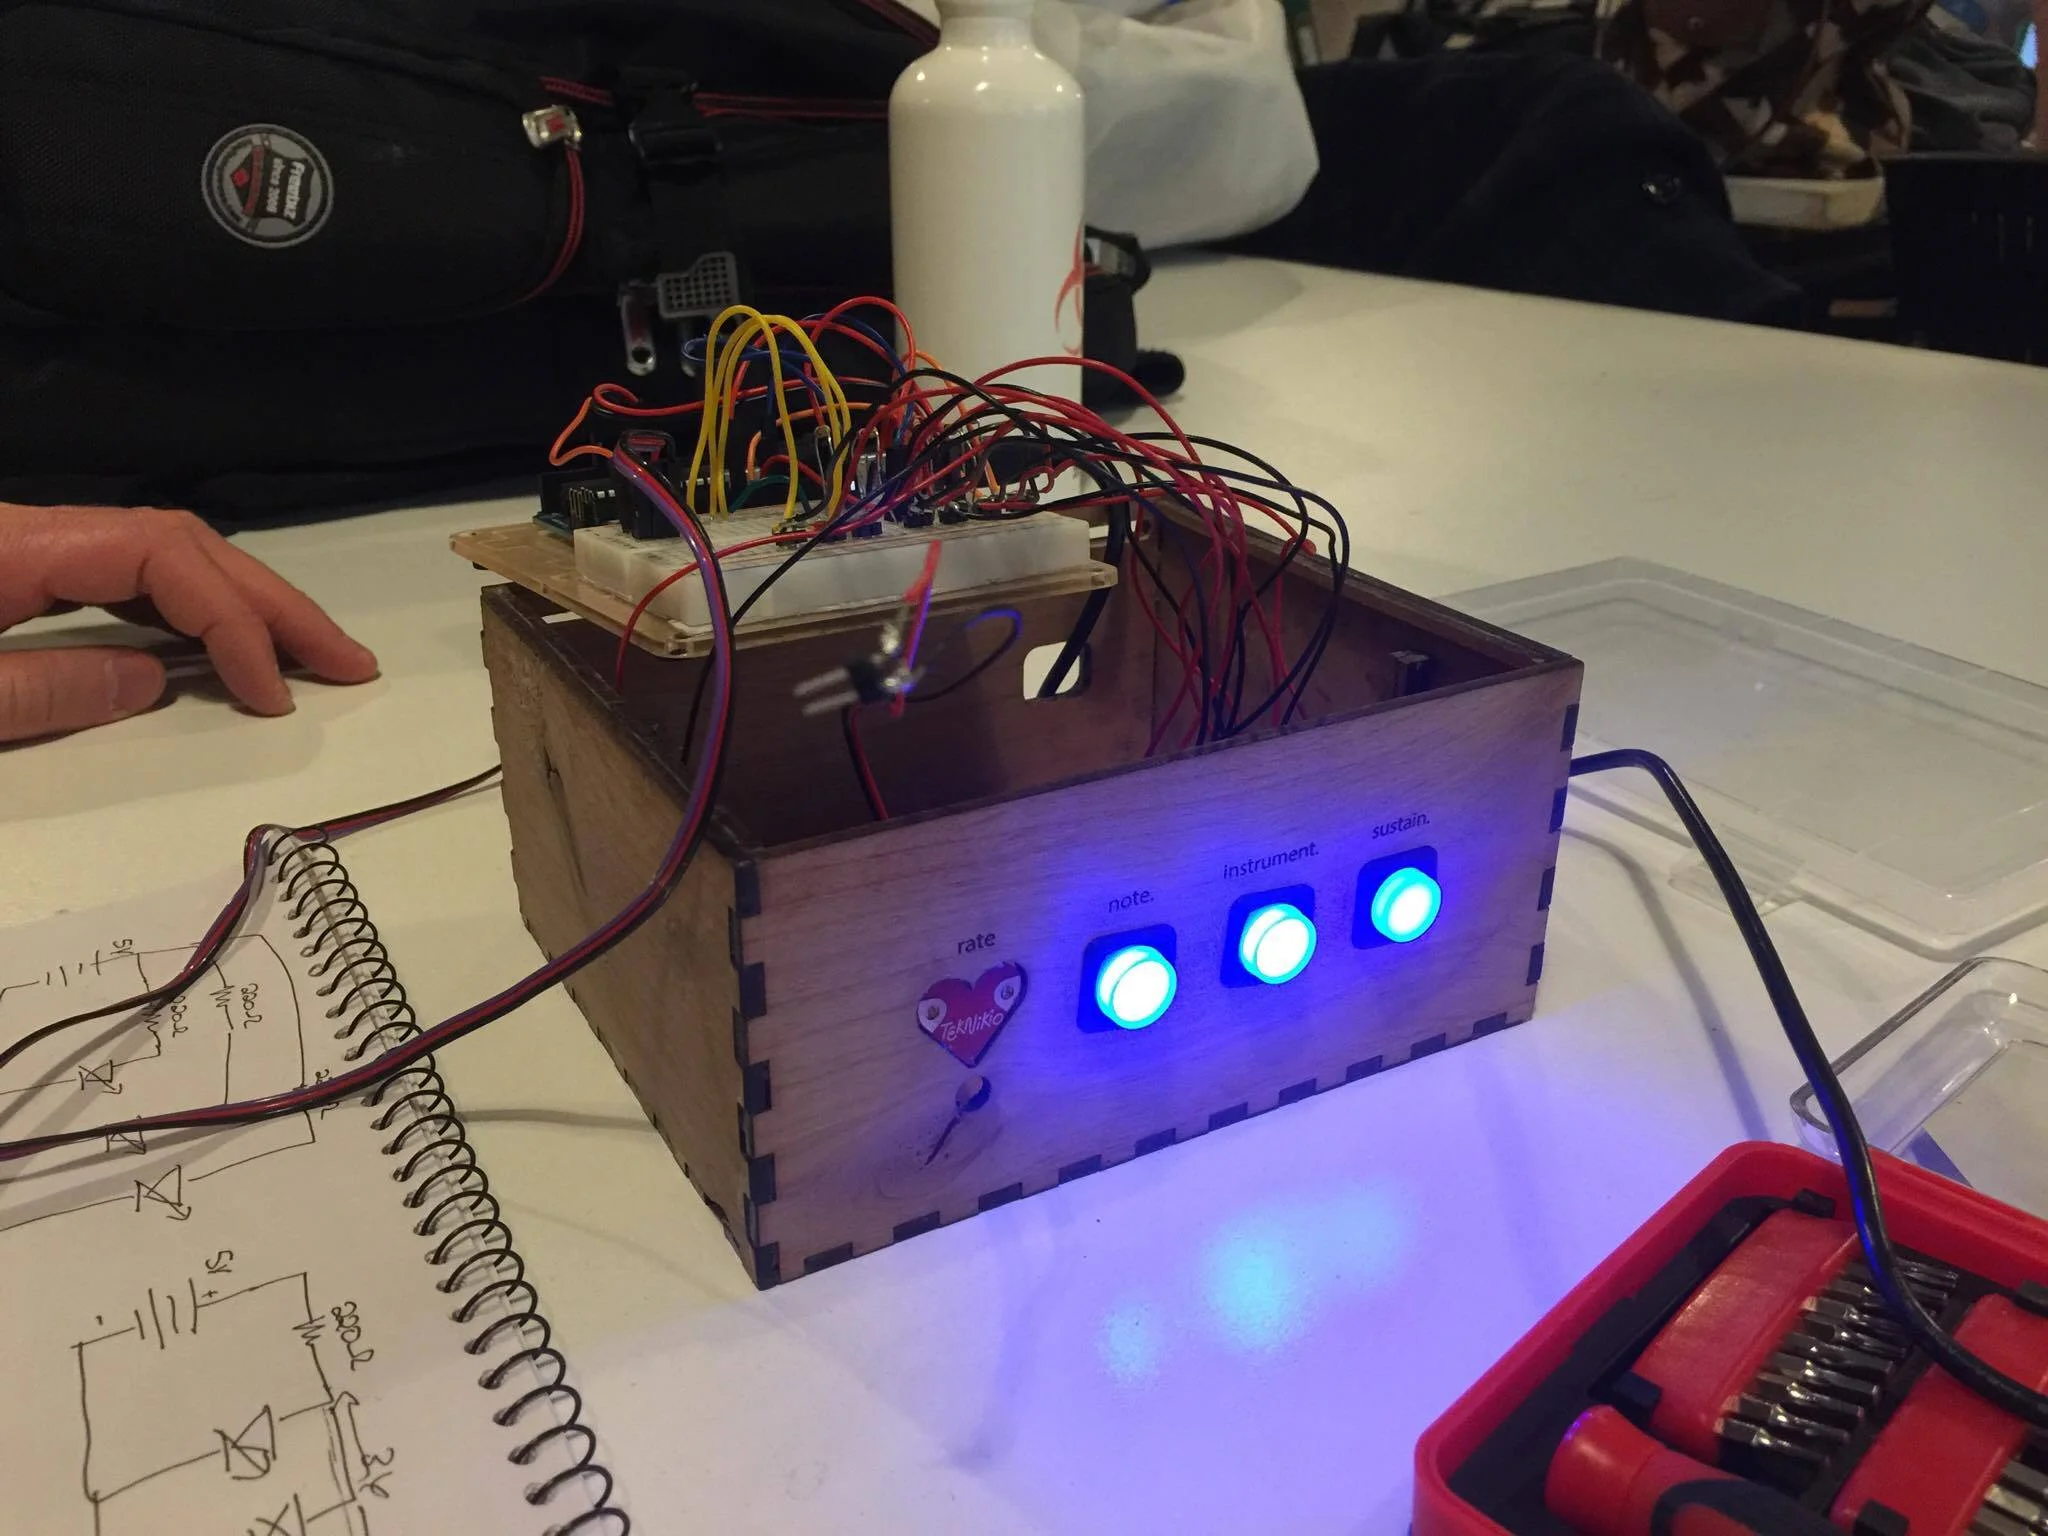
I booked two hours on the laser cutter today and brought the design that Jim and I adjusted together on Sunday. The wood and buttons had arrived so I was able to measure the holes for the buttons and adjust them. I had some issues with the power settings on the laser cutter resetting a few times while printing, and also misremembering the speed once, so one or two pieces took longer to cut before I realized that this had happened. Otherwise following the settings in the document on the Desktop of the laser cutter's computer worked fine and I am getting the hang of how it works. Still want to experiment more with the wood shop, but this seems good for doing finer work like cutting openings for enclosures like this. Though it took a while to cut through 1/8" pieces, and I wondered if actually a 1/4" board would have been sturdier, and if maybe I should have used the 75W cutter to do it that way? Otherwise, the slots do fit (we flipped some pieces around to get the text in the right places), and it's a little too big for the Arduino + breadboard but also won't be sure of that until we add the inside supports for the top and all the wires, so at least it's definitely not too small. I think it would be nicer if it was more compact but that's just a visual side note and could be adjusted later for the next one.
Most importantly I already snapped off the ledge above where the top plate is supposed to go in/out, so that is a bad sign and will need to be fixed somehow or rethought design wise. I think one side snapped when I took out the piece in the slot which had been laser cut out, and the other side snapped when I was seeing if the acrylic would fit through (it did fit, but it seemed a lot heavier compared to the 1/8" Alder wood hence it breaking). Another solution would be to have a wooden top, which is definitely an option, especially if that seems more long lasting. I got this 1/8" Alder wood because it was recommended for laser cutting and also seemed thin enough to do a full box almost in a short amount of time on the cutter, but I think in the next iteration of this enclosure I will be taking into mind all the problems that came up with this first one. I also got some 1/8" Cherry wood and am wondering if that would be sturdier also. Again having more time on the laser cutter would have helped of course but everyone else is trying to finish things too for finals and a 2 hour chunk at a time seems reasonable as you are watching it and standing there the whole time... once I get a real plan I think I will reserve some hours at an off time, like 9am Saturday morning or something just to finish it properly and have extra time if something goes wrong. I think as I do more of these kinds of things I will gain a better vocabulary of tools for putting things like this together and using the right materials and steps in the process etc. On a positive note, the heart LED fits! We used the "boolean union" option in Illustrator to combine the shapes of the two sides I traced, and it actually fits perfectly now. Next we will sand down the 3 larger button holes as they are still slightly too small, but thankfully Jim has some tools that will help with this, and wiring the Arduino with the buttons and the LED and the heart sensor (which will be attached to the Arduino through that small hole under the heart shape), and programming the buttons...